Backpacking is awesome. But time and again, there are those instances that make you question why you went hiking in the first place. Fording is one of these times. You are happily trekking up or down a trail, and suddenly, you are standing in front of a river that you have to cross if you want to keep hiking.
You have read up so much on fording, but when faced with the actual situation, you start doubting if you can really do it. Do not fret. This is your moment to shine. You know you can do it well and make it on the other side without so much water on your body.
Today, we are here to take you through all you need to know about fording a river. Is it scary sometimes? Of course, it is. But you are a backpacker and the fact that you are already on the trail, means that you cannot back down when faced with a challenge. Keep reading to get the information that will equip you with all the skills you will need when it comes to crossing any river in your lifetime.
Determinants of a good crossing point
Not every shallow spot on a river is ideal for a crossing. You will need to assess a few options and tick a few boxes before you settle on a particular area.
Swiftness and depth
Are the waters flowing too fast and at high levels, even reaching above your knees? If you answered yes to this, then do not cross under any circumstances. This is a very hazardous point because you can easily get carried downstream by the strong currents. Consider scouting for better areas, or coming back the subsequent day to assess if the water levels have gone down.
It’s even simpler crossing snow-fed rivers promptly in the morning before the day progresses and it gets warmer making the currents rise.
Width
Always go for a spot that is not extensively broad. It should be extensive enough and shallow with feasible entry and exit points.
We advise that you avoid crossing at high banks and narrow points. This is where the current is is really the toughest you can face.
Run-out
In case you think that crossing at a point will be problematic, try finding out wherever the river is headed. Just in case you slip and fall while on it.
Do not cross if the river leads to rapids and waterfalls as they are potential hazards.
Riverbed character
Establish whether the riverbed houses any holes and snags before you cross. The riverbeds are uneven in nature, therefore, be very cautious with each different one.
In case the water in the bed is murky and laden with debris, consider looking for another crossing point or just bide give it time.
Exercise patience
After a thorough assessment of the river and you are still not comfortable with the conditions, we recommend that you sit back for a day or two waiting to see if the situation will get any better.
Do not rush to cross when all the factors are working against that. Your safety is much more important.
Crossing techniques
There are different methods you can consider when trying to cross a river. Go for the one that works best with your prevailing situation.
The tripod method
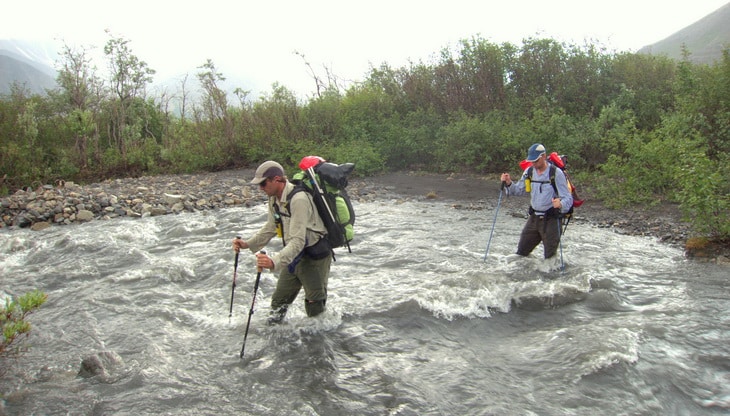
In this approach, you use your two feet and one long pole to form a tripod for greater stability. Start by entering the river upstream and hold on to your pole with all your hands for extra balance. Bend the knees and lean faintly forward into the oncoming water. Do this while ensuring that you bend at the knees, with your pole being right in front of you. Start shuffling diagonally the river and cross at a minor angle heading downstream and not straight across. You should be moving along the current and not against it.
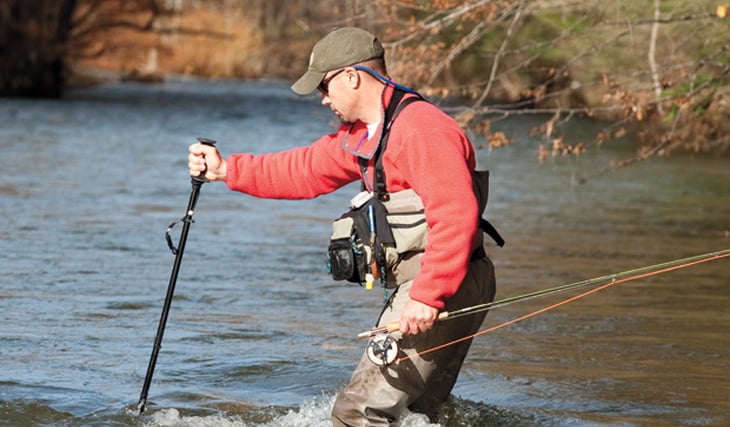
Use your stick to test the depths of the water. You should take your time because you don’t know what objects lie underneath. One mistake and you find yourself toppling over and drowning.
The quadpod method
This is considered a similar way to the tripod method. The only difference is that instead of using two feet and one pole, you use two poles. This gives you maximum stability and makes your crossing incredibly easy because now you have that balance.
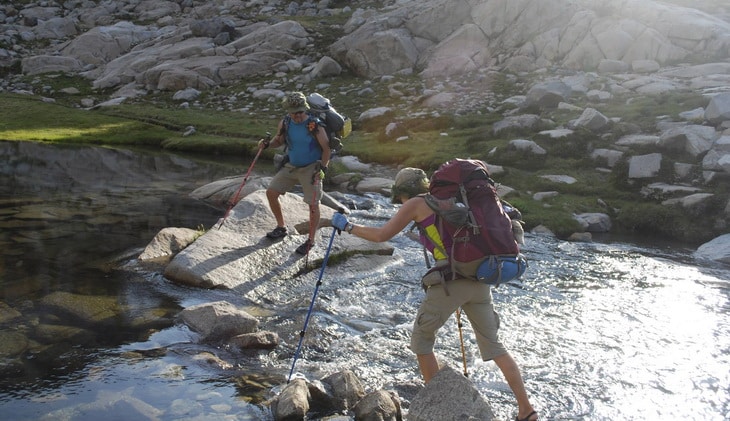
Just follow the same technique as the tripod technique, and you will be just fine.
Crossings in a Group
Have you decided to go hike in a group?
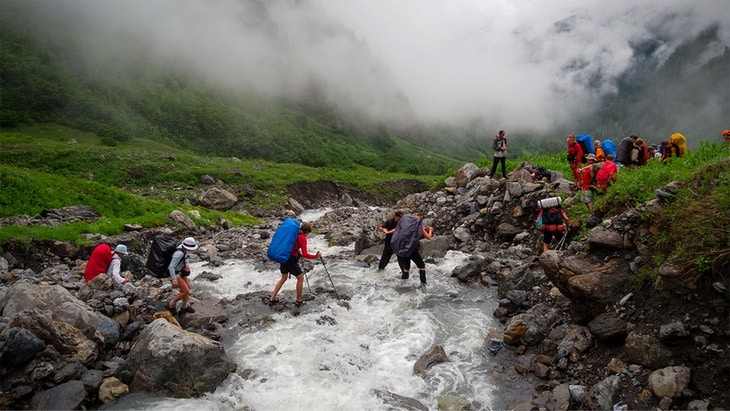
There are a few options you can consider following
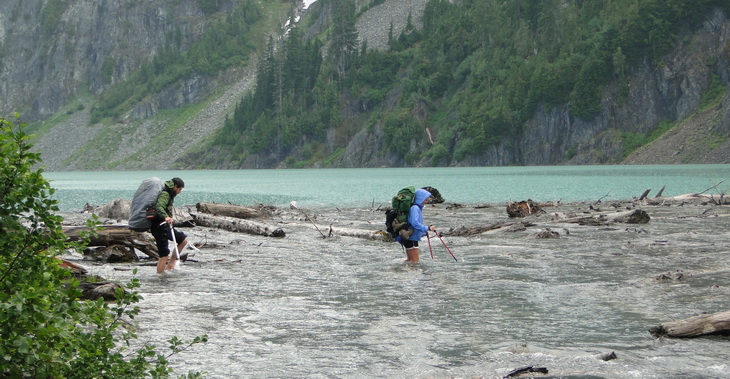
- Each member crossing alone: This is an ideal method because as one of you tries to go at it alone, the rest of you position yourselves downstream. In case they fall, the rest of you are in a better position to give the support which should be in the form of an extended hiking pole, sturdy stick or a pole.We recommend that the most knowledgeable member of the group goes first. This is important so that they can easily figure out the safest route.
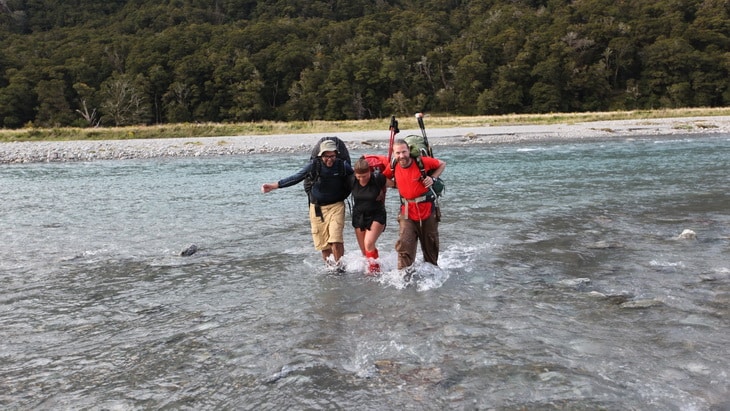
- The group crossing together:If neither one of you wants to start off alone, you can always cross as a group. You will engage the mutual support method for this to be successful. You should all hold onto one another’s shoulder straps or waist belt for maximum support. Enter the river in one single line, angling slightly downstream with the most resilient or heaviest one anchoring all of you at the upstream end. Alternatively, if you are about three members, you can try locking arms while facing in and just shuffle across. This will form a tripod that will give you that additional stability. You can also use a sturdy rope if you have one. Tie one end to a tree and send your strongest party across the river to tie off the other end. Now you can just clip into crossing with your last member bringing the rope.
Logs
It’s so important that your feet are kept. In addition, just try to locate a tree that might have fallen across a river. Go for the ones with bark on it since it will give your feet more traction than an aged tree that lacks a bark.
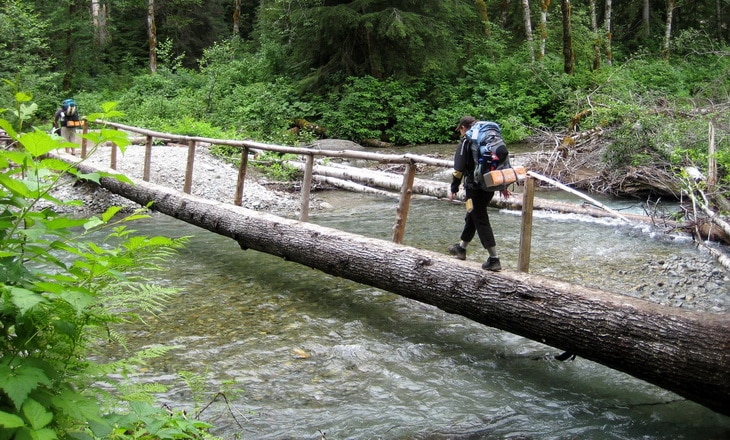
As you cross, face the direction of the upstream and sidestep. Take caution not to gaze at a fixed point instead you have to retain your eyes moving to stop any upcoming Vertigo. If you have a backpack on, you will have some trouble because the weight might keep pulling you down, and the tree branches might keep snagging your straps.
Boulder hopping
You can choose to cross while boulder hopping or maybe just rock jumping. This is a more traditional method than the log one because it’s very difficult to find a collapsed tree that crosses out the whole river. However, to successfully use boulders, you have to have a good balance and a fast reaction to loose rocks. Having a heavy backpack will make this quite tasking for you. Always try to maintain three points of contact the whole time, for better stability. You can also carry your trekking poles to help you maintain that balance.
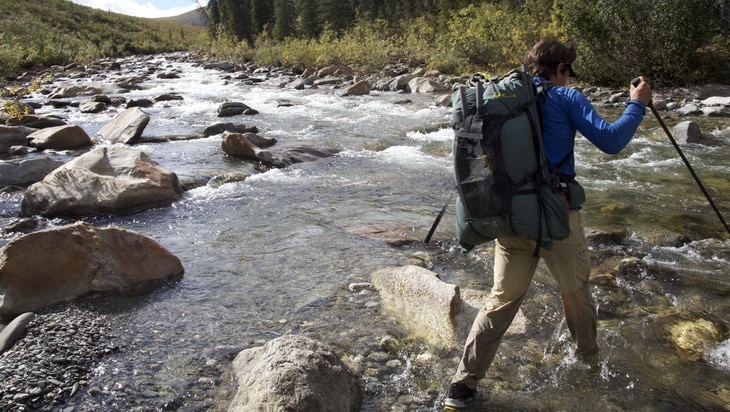
We, however, caution against this method because many of these rocks have been laying underwater for so long hence forming a slime layer that can easily make you slip and drown.
Safety tips you will need to know
Let’s get real. When crossing a river, getting water in your boots is the least of your concerns. The temperature levels and the water levels are what makes the whole situation a bit dangerous. If the water levels are too high, you risk drowning just by trying to cross over to the other side. Freezing temperatures can also be detrimental to your health, and the last thing you need is getting sick while you are out there.
You should know that fording is not considered the same as swimming. Especially when the water levels are above your thighs, you should not even try cross at that point. You might have heard or seen other hikers crossing rivers, even with the water coming up to their chest. Do not be that hiker. The best thing at this point would be to turn around and find a better crossing point.
However, all is not lost. There are a couple of things you need to know that will help you mitigate some of these risks and help you cross over safely to the other side.
Footwear
Keep in mind that there are underwater rocks that are super wet and slippery and just one slip can have you going downstream in no time. When crossing, you won’t be able to see these rocks.
If you carry crocs or sandals for fording, this may not be the right footwear as it doesn’t provide you with enough traction. You should only use sandals when wading across very shallow waters. They can easily be separated from your feet in strong currents leaving you susceptible to so many hazards.
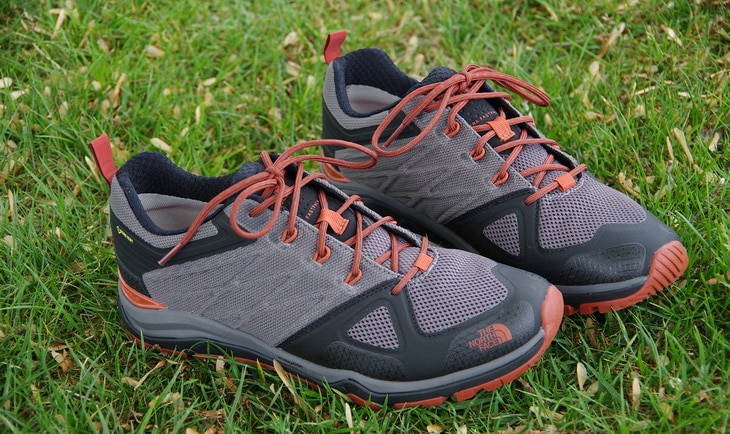
Consider protecting your feet with better options such as trail shoes, regular boots or invest in a pair of special-purpose water shoes. This prevents you from cutting your feet on broken glass, submerged logs, metal bits or rocks that might be underwater.
Scouting
Most of the time when you come across a river, you definitely look for a blazed line and assume this is the perfect area to ford through. Wrong! You should know that the volume of water going downstream is never constant. Depending on temperature levels, general weather conditions, and new hazards not present when the blazed line was laid out, the crossing points differ each time.
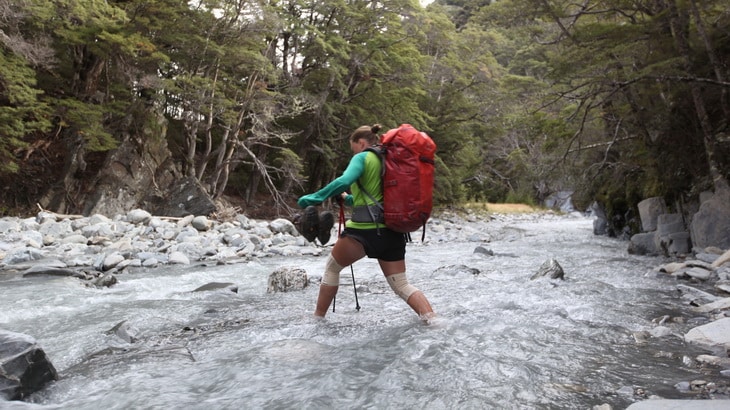
Take your time to scout for a suitable location that will make a crossing point. What was considered a good point one time is not necessarily a safe one for you. This is because river conditions are very dynamic.
Always face upstream
Whenever you are crossing the fast water, ensure that you are always facing upstream. Lean on your walking stick against the current and then shuffle your feet sideways, all the while leaning slightly downstream.
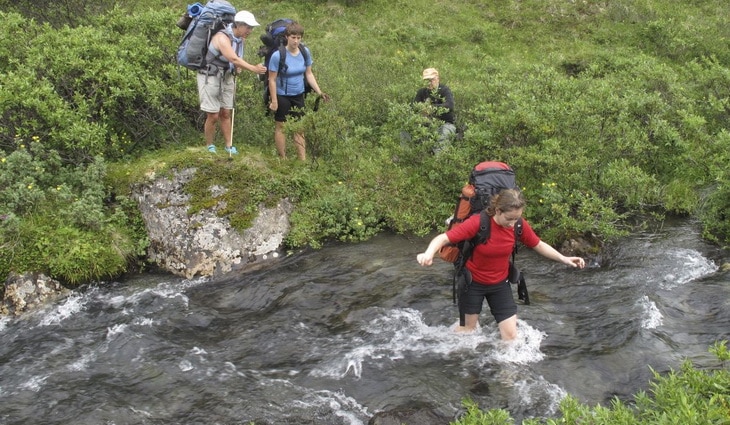
You should always maintain two contact points with the riverbed. Your feet and the stick help you retain that solid base.
Strainers
These are pieces of trees, wood, branches under water or those hanging over the banks and they are the worst objects that you can consider crossing with. This is because in case you slip; the current will push you underwater, which will ultimately push you further downward the stream. Don’t let shallow waters fool you into thinking they are a safe bet.
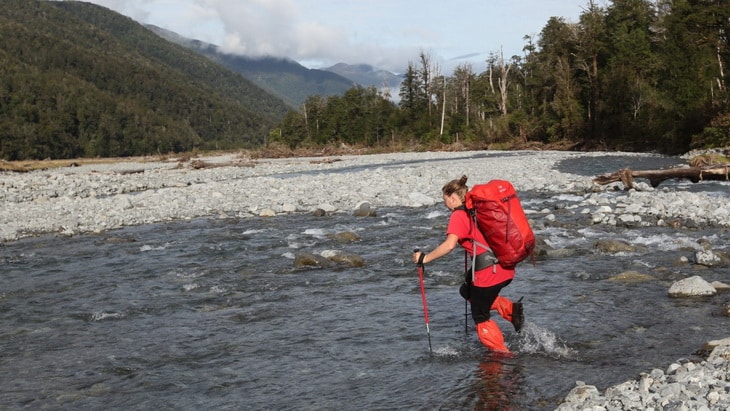
We have come across stories of hikers who were swept into a strainer and ended up drowning in 6 inches of water that they considered shallow.
Release your pack
Accidents happen all the time. When fording, you may lose your footing and find yourself getting pushed downstream. This is why it’s important that you release your hip belt and any sternum straps so that you can jettison in case this happens.
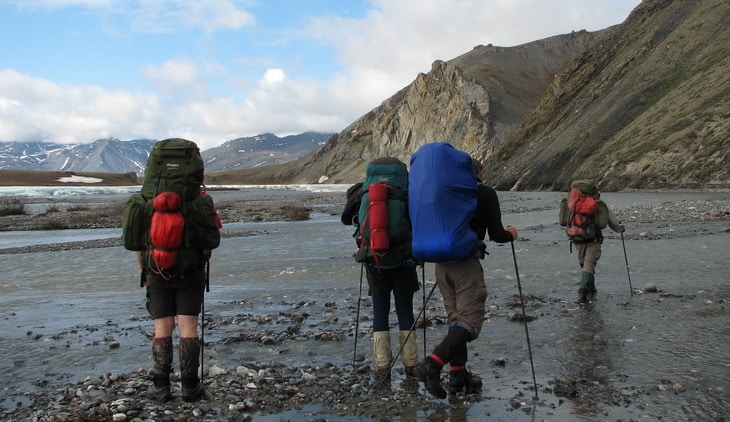
When you’ve lost your footing, your pack fills with water which makes it very hard for you to move. Let’s say you have a 50 liter pack. With water weighing about 2lbs per liter, it will be practically impossible to lift the pack when you are fighting to stay afloat.
Chokepoints
You have checked around for strainers and are sure there are none at your designated crossing point. You don’t just cross. Not yet. Study the current and try to establish how fast it’s moving. The current is strongest where the river banks start to narrow down. Avoid such points at all costs because you can drown here easily.
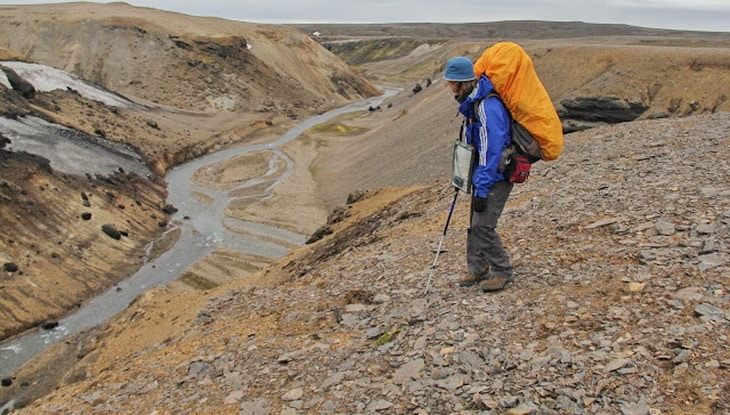
Try to locate an island that could be in the middle of the stream. This is a good crossing point because the island splits the current and makes it weaker and slower. Fording at this stage is quite manageable.
Walking poles and stick
When hiking, you use walking poles and sticks sometimes to help you maneuver trails easily.do not ditch them just yet. They will come in handy as you cross the river by giving you extra balance and preventing you from toppling over. Go for wider branches when you need to break the current. Just plant the branch firmly on the ground and stand behind it.
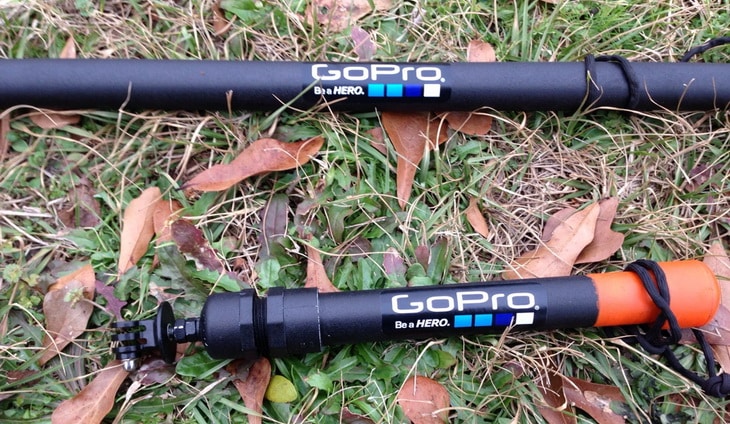
A stout wooden shoulder height pole works best because you can use it to form a stable tripod with your legs. This gives you extra since you will now be moving with two solid points of contact. Ensure that the stick is on the upstream side so that it can hold the current.
Floatation device
When crossing rivers that are more than knee deep, we advise on wearing floatation devices that will help keep you afloat even if you slip.
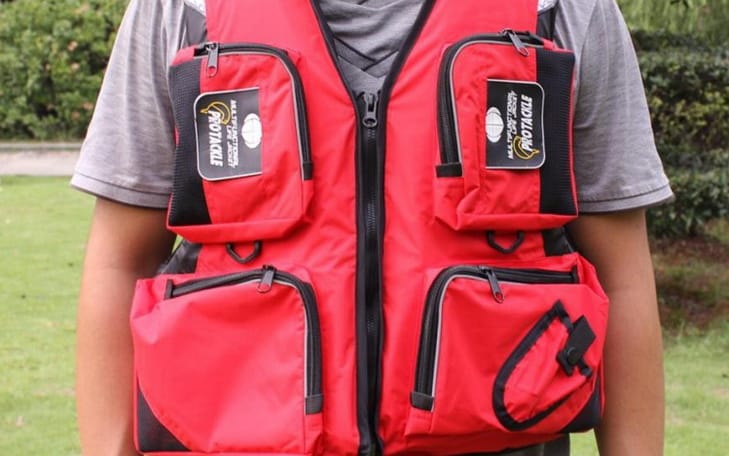
Invest in a lightweight one that packs small, and that won’t be too much trouble carrying.
Shorts
We recommend that you ditch those long pants and wear shorts instead. This is because the pants have more drag than shorts and will take more time to dry after they get wet.
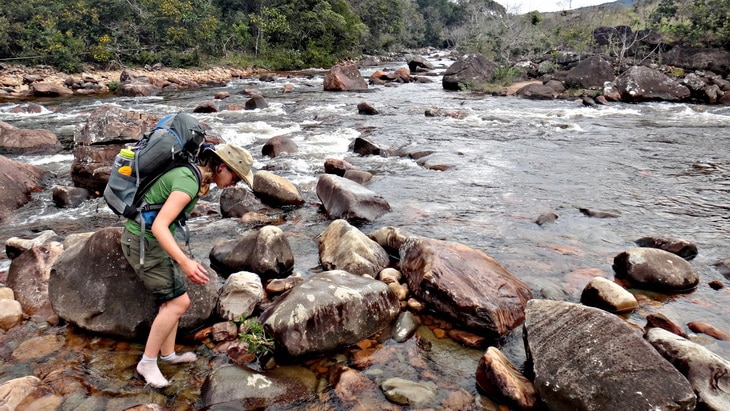
Get out of your pants just before you cross and put on nylon shorts. You can even cross in your underwear and have the pants back on after you are through.
Rocks and waves
If you are keen enough, you will notice rocks sticking out of the water. A much closer look will show you that the water that is flowing behind these rocks moves slower than the water flowing on either side. The current at such points is weaker, and this makes it a good crossing point. Alternatively, the rocks provide an excellent resting place in case you had already started crossing, but the current got stronger.
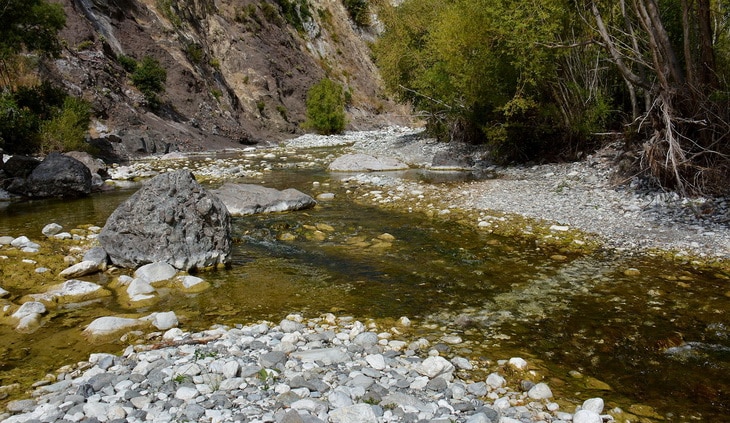
Additionally, do not cross in the whitewater part of a standing wave. The rocks that form these waves are usually underwater and cannot be easily seen. Always cross beyond the wave and take extra caution because they sometimes appear in deeper sections of the river, which are risk hazards.
Eddies
An eddy is an area of water formed by rocks that are located near the river banks. You will see this only by looking at the side of the river that is closest to you, and that’s also near the far bank.
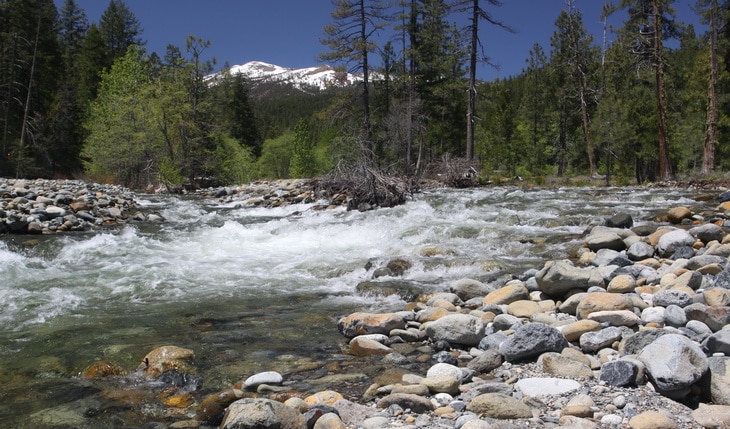
The water in an eddy flows upstream, in a slow manner. This also happens on the inside curve of a river. Whenever you spot eddies, know that they form a good crossing point because they are out of the current.
Cross as a group
Hiking is more fun when you are with other people. Fording is much easier when you are a group of individuals. You can make it safe to cross, by one person standing directly behind another. The person upstream will break the current therefore helping those behind him wade through easily.
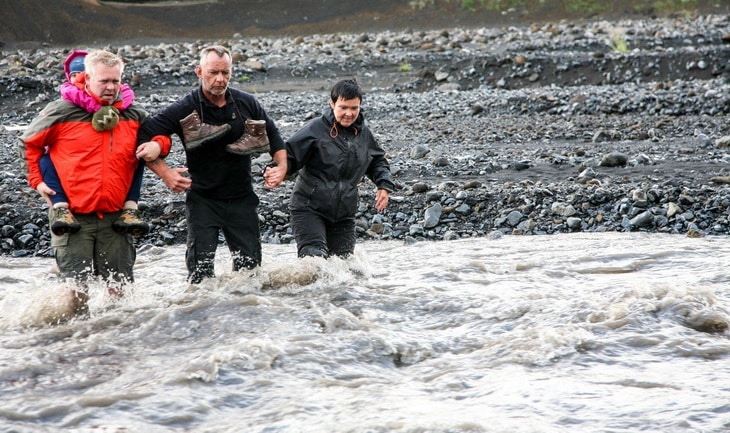
There are also minimal chances of two people toppling over and drowning. If you are three, even better. You can make a triangle which is a more stable form for crossing.
Worst case scenario
There are two instances that no one is prepared for when fording. Either you fall in the water, or your companion does. Well, if you slip while trying to cross and find yourself being swept away by the current, you need to regain your composure and worry about getting out safe and not if your bag and other items are wet or not. We advise that you either release your backpack quickly and let it go or hold it tightly against your chest to keep you afloat, like a makeshift floating jacket.
The last thing you want, is on your back because it will keep dragging you down since it’s heavy, making it easier for you to drown. Releasing your bag, rids of that additional weight and enables you to swim safely to the shore. Using either of the methods is a decision you need to make very fast. You need to consider the river levels and the terrain.
Is your goal to swim or just keep floating? If you choose the latter, position yourself in a way that you will be floating on your back, and your feet should be facing downstream. This will protect your head against any collisions that may occur since your feet will take the fall. If you opt for swimming and you get to the shore, your primary goal should be to get warm.
You can do some jumping jacks or pushups for this. Change into dry clothes if you still have your backpack with you. Alternatively, if you released it, just build a fire. It will not only keep you warm but will also dry out your clothing.
What if your hiking companion falls in the water?
You need to know what to do when this happens. The most important thing is that you don’t panic when this happen. We recommend that you secure yourself first before trying to save someone else so that you prevent the risk of being pulled into the river as well. If he falls in close to the shore, just use your trekking pole or stick to reach out to him. Alternatively, you can quickly make a flotation device like a rolled up sleeping pad that you can further secure with a piece of webbing. Toss this to him so that he can use it to float to the shore.
Only get into the water if you can’t utilize the above options. Keep in mind that by going in, you risk of becoming the second victim who is not in an ideal situation, especially if it’s just the two of you.

